Fiction note: Aeron Skyrift is a fictional character from the Vizlings app. Everything below is fan-written world-building for that character — not real history, not real people, not real quotations.
Missions Archive
Eight operations, eight after-actions — the full record of the Fleet Admiral's defining missions.
Fiction note: these after-actions document fictional operations in a fictional war. Ranks, ships, and casualties are invented.
1. The Siege of Kharad Gate (1199)
Situation: The Hollow Maw’s largest assault of the war, aimed at the Concord’s most strategic chokepoint. Three-to-one odds against.
The plan: Interlocking chevron formations — each ship covering the blind arc of the next — rotating fresh ships into the line while damaged ones withdrew under cover.
The outcome: Nineteen days. The gate held. The Chevron Protocol entered the tactical manuals.
The cost: Eleven ships lost, 400 crew. Aeron’s after-action report names every ship and lists, beside each, what the formation might have done differently. It is still taught as an example of honest analysis.
2. The Hollow Maw Incursion (1203)
Situation: The Maw’s deepest penetration of Concord space — scattered raiding parties across six systems, designed to force the fleet to disperse.
The plan: Refuse the dispersal. Aeron identified the one system the raiders couldn’t afford to lose and massed his full wing there, letting the raids burn themselves out elsewhere.
The outcome: The incursion broke against prepared defenses; raiding parties, finding no fleet to fight, withdrew.
The cost: Minimal fleet casualties; significant civilian damage in the un-defended systems — a trade Aeron still defends and still regrets. “The math was right. The math isn’t the point.”
3. The Black Reef Blockade (1205)
Situation: The Maw’s principal forward base — too strong to assault, too important to ignore.
The plan: A year-long strangulation. Cut supply lines with surgical precision; let hunger do what guns couldn’t.
The outcome: The base surrendered without a single Concord casualty. The definitive blockade operation in staff-college curricula.
The cost: A year of his fleet’s time, and the moral weight of starving an enemy into surrender. Aeron’s report addresses it directly: “A siege is a slow weapon. I chose it because the fast weapons would have killed my people too.”
4. Operation Redoubt (1207)
Situation: The Maw’s offensive capacity needed breaking, decisively, before it could rebuild.
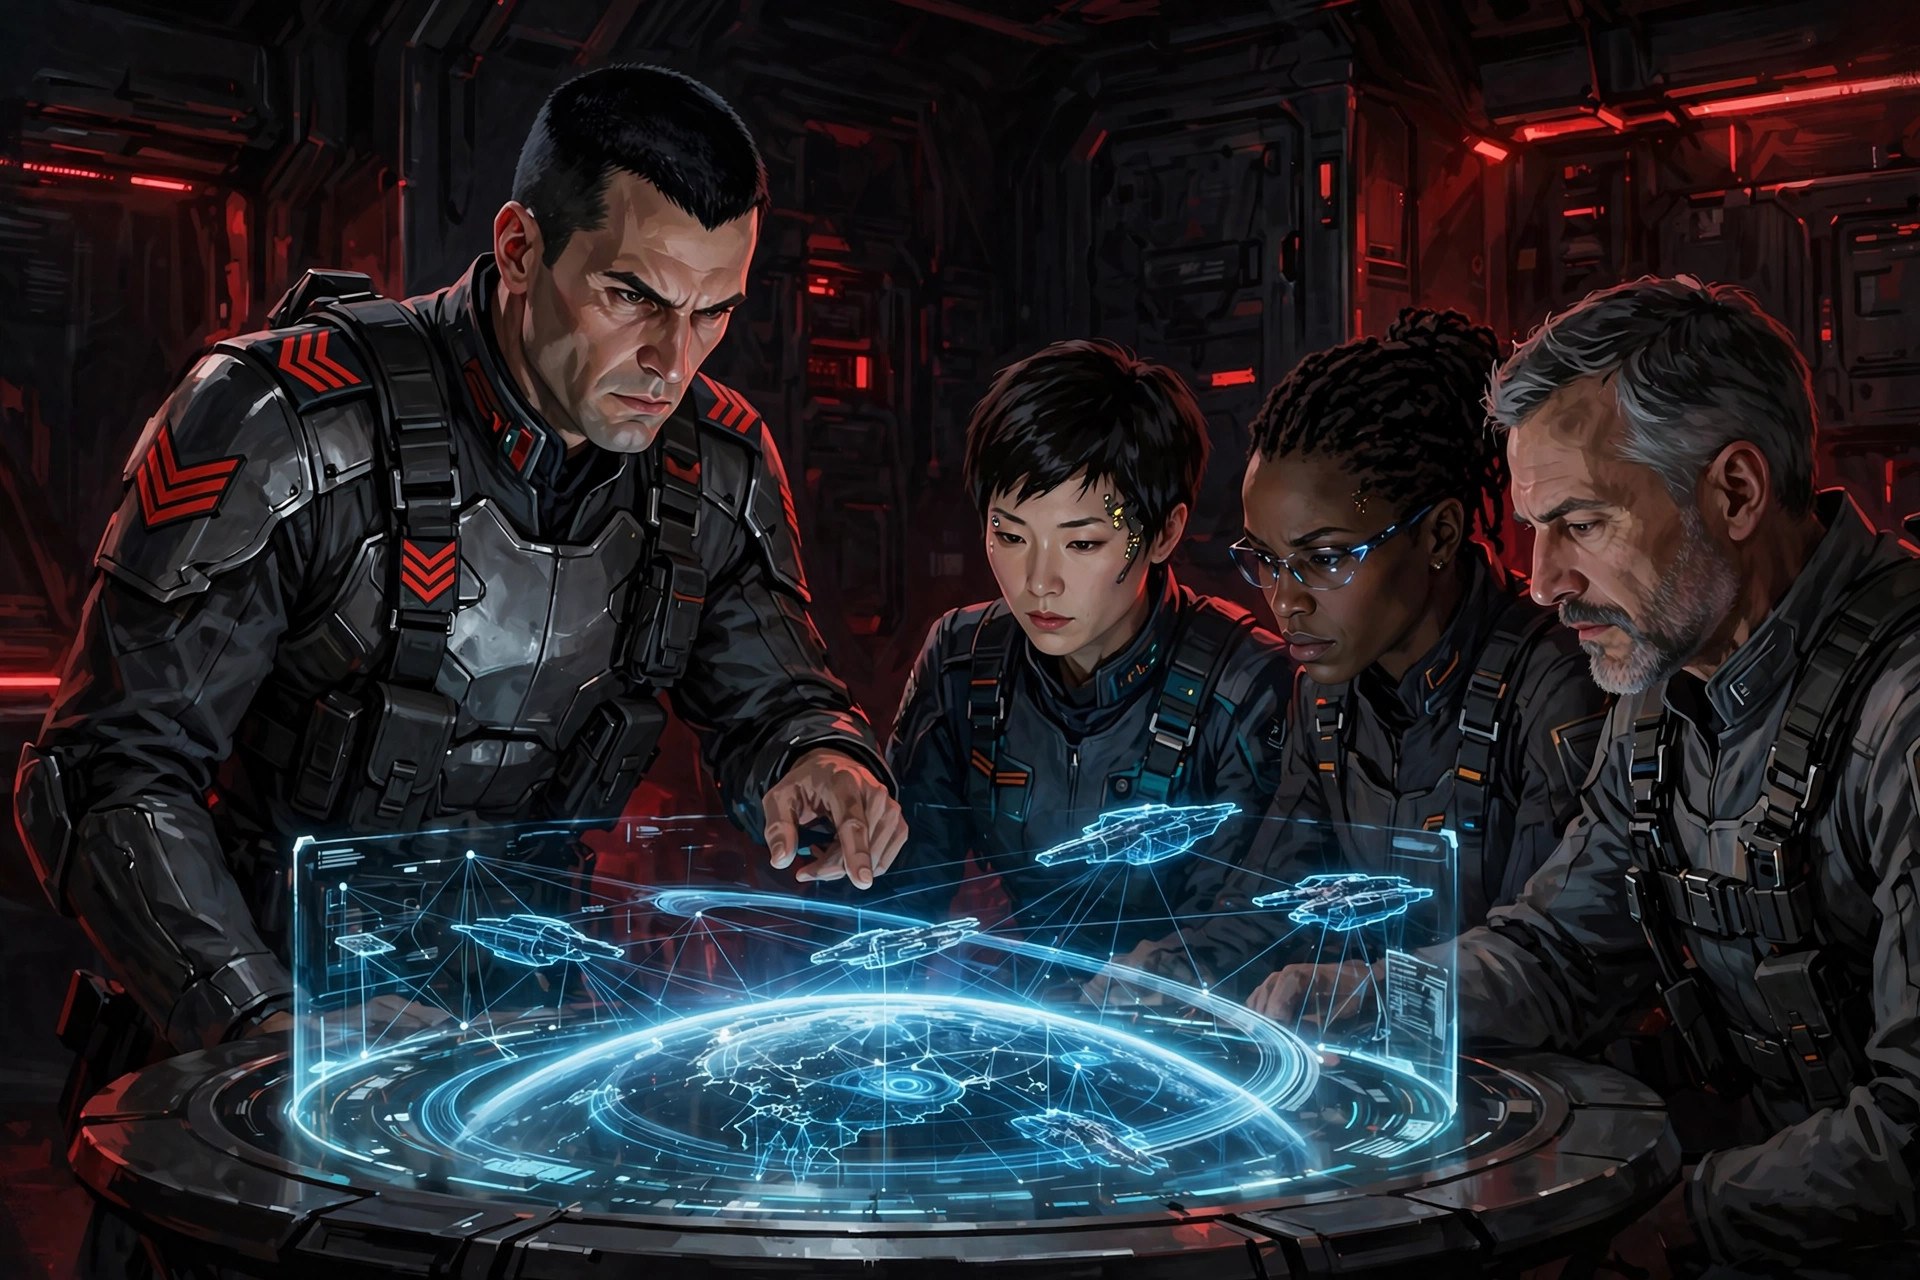
The plan: A coordinated strike across four systems, executed simultaneously — planned in six days in a map room, enabled by months of pre-positioned logistics (the Long Watch at full stretch).
The outcome: The Maw’s offensive capacity broken for a generation. The planning session entered fleet legend.
The cost: The heaviest of his career to that point — and the operation fans argue about most. Aeron’s position: “Redoubt ended the war’s worst phase. The bill was real. So was the alternative.”
5. The Veyra Evacuation (1209)
Situation: The Maw struck Veyra-3 — Aeron’s homeworld. Two million civilians, eleven days, a blockade.
The plan: Countermand the withdrawal order; convert the fleet into the largest sealift in Concord history; run the blockade in continuous waves.
The outcome: Two million evacuated. Not one transport lost. Court-martial; acquittal within the hour.
The cost: Cinderport — his birthplace — slagged in the first hour. He has never spoken of the eleven days. The archive records the facts and stops there, out of respect.
6. Operation Lantern (1210)
Situation: A shattered convoy, survivors scattered through a debris field navigators called unflyable, seventy-two hours of life support remaining.
The plan: Small craft, tethered in chains, flying a corridor Aeron plotted by hand — “the debris has a rhythm; find it and dance with it.”
The outcome: Every survivor recovered.
The cost: Three rescue craft lost to debris strikes. Aeron’s after-action report — all three sentences — is preserved in the archive: “The corridor held. The crews were magnificent. We will do better next time.”
7. The Trelayne Summit (1211)
Situation: A diplomatic conference; a Maw strike team instead of diplomats; forty boarders in the council chamber.
The plan: There wasn’t one. Nine minutes, a sidearm, a fallen guard’s rifle, and the doors.
The outcome: The chamber held. Reinforcements arrived. The footage is still used in close-quarters training.
The cost: A shoulder wound and a recruitment offer from the StarTeam. He took the offer. He kept the scar.
8. The Shattered Convoy (1212)
Situation: His first StarTeam operation: a Maw ambush that had destroyed two full convoys, waiting in a shattered asteroid field for a third.
The plan: Four people, no fleet support, and the terrain. Aeron used the asteroid field the way other officers use open space — the Keelhaul as bait, the field’s sensor shadows as cover, Zyx flying a corridor only he could see.
The outcome: The ambush dismantled; the convoy passed untouched; the team came home intact.
The cost: None. “The first one had to be clean,” Aeron said afterward. “They needed to know the plans work at this scale too.”
The pattern
Read together, the eight after-actions show the doctrine evolving: from formation geometry (Kharad) to theater prediction (Incursion) to patience (Black Reef) to synchronization (Redoubt) to moral courage (Veyra) to precision (Lantern) to raw nerve (Trelayne) to the synthesis of all of it at team scale (Shattered Convoy). The archive’s conclusion: the plans got smaller and the stakes got more personal — and the man at the center never changed.
Source notes
All operations are fan-written world-building for a fictional character (see Methodology). The briefing image on this page is AI-generated dramatization art.